Lab 1C: Export, Upload, Import
Lab 1C - Export, Upload, Import
Directions: Follow along with the slides and answer the questions in bold font in your IDS Journal.
Whose data? Our data.
-
Throughout the previous labs, we've been using data that was already loaded in RStudio.
– But what if we want to analyze our own data?
-
This lab is all about learning how we to load our own participatory sensing data into RStudio
Export, upload, import
-
Before we can perform any analysis, we have to load data into R.
-
When we want to get our participatory sensing data into RStudio, we:
-
Export the data from the IDS page.
-
Upload data to RStudio server
-
Import the data into R's working memory
Exporting
-
To begin, go to your class’ IDS page.
-
Click on the Campaign Manager
-
Fill in your username and password and click "Sign in."
If you forget your username or password, ask your teacher to remind you.
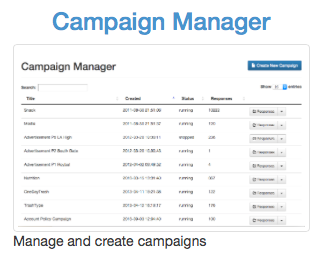
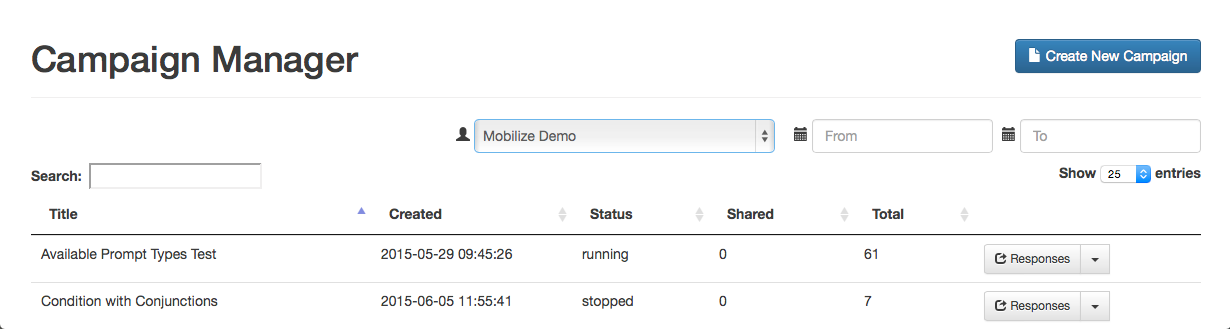
Campaign manager
-
After logging in, your screen should look similar to this.
-
Click on the dropdown arrow for the campaign you are interested in downloading.
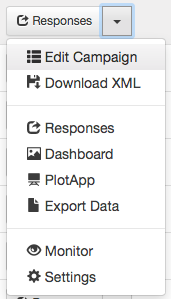
Dropdown arrow
-
The options for the dropdown menu will look like this.
-
Look for the option labeled Export Data. Click it.
-
Remember where you save your file!
Exporting
-
When you clicked the Export link a .csv file was saved on your computer.
-
Now that the file is on your computer, we need to upload it into RStudio.
Uploading
-
Look at the four different panes in RStudio.
-
Find the pane with a Files tab.
-
Click it!

-
Click the button on the Files pane that says Upload.
-
Find the SurveyResponses.csv file you saved to your computer.
-
Hit the ok button a few times.
-
Voila!
-
If you look in the Files pane, you should be able to find your data!
Upload vs. import
-
By uploading your data into RStudio you've really only given yourself access to it.
-
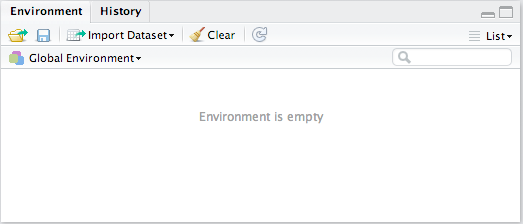
Don't believe me? Look at the Environment pane ... where's your data?
-
To actually use the data we need to import it into your computer's memory.
-
To compute more quickly and efficiently, R will only keep a few data sets stored in its memory at a time.
– By importing data, you are telling R that this is a data set that is important to store it in its memory so you can use it.
Importing
-
At the top of the Environment pane, click the Import Dataset button. Then, choose From CSV...
– CSV is a standard data format used by many software programs.
-
Click the Browse... button in the upper right hand corner. Find your data file and click Open.
-
Give your data a name using the Name: field in the lower left corner.
What's in a name?
-
The name you give your data is what you will use when you write code to analyze your data.
– Good names are short and descriptive.
– For your food habits campaign, some good names to use would be "foodhabits" or even just "food".
-
When you're ready, click the Import button.
read.csv()
-
After you click Import you might notice something appeared in your console.
data.file <- read_csv("~/SurveyResponse.csv") View(data.file) -
This is the actual code
RStudiouses to read your data when you clicked the import button. -
So instead of using the
RStudiobuttons, we can actually Import by writing code similar to what was output into the console! -
This will come in handy later in the course.
A word on staying organized...

-
The Files tab has a few other features to help keep you organized.
-
SurveyResponse probably isn't the best name for your data. Click Rename to give it a clearer name.
-
It is often helpful to give your data file the same name as when you import your data.
-
So in this case, we could name our data file foodhabits.csv
Export, upload, import
-
After you Export, Upload, Import your data you're ready to analyze.
-
Viewyour data, select a variable and try to make an appropriate plot for that variable.– If you're having issues, make sure you're spelling the name of your data correctly.